

Very expensive but very, very well made.
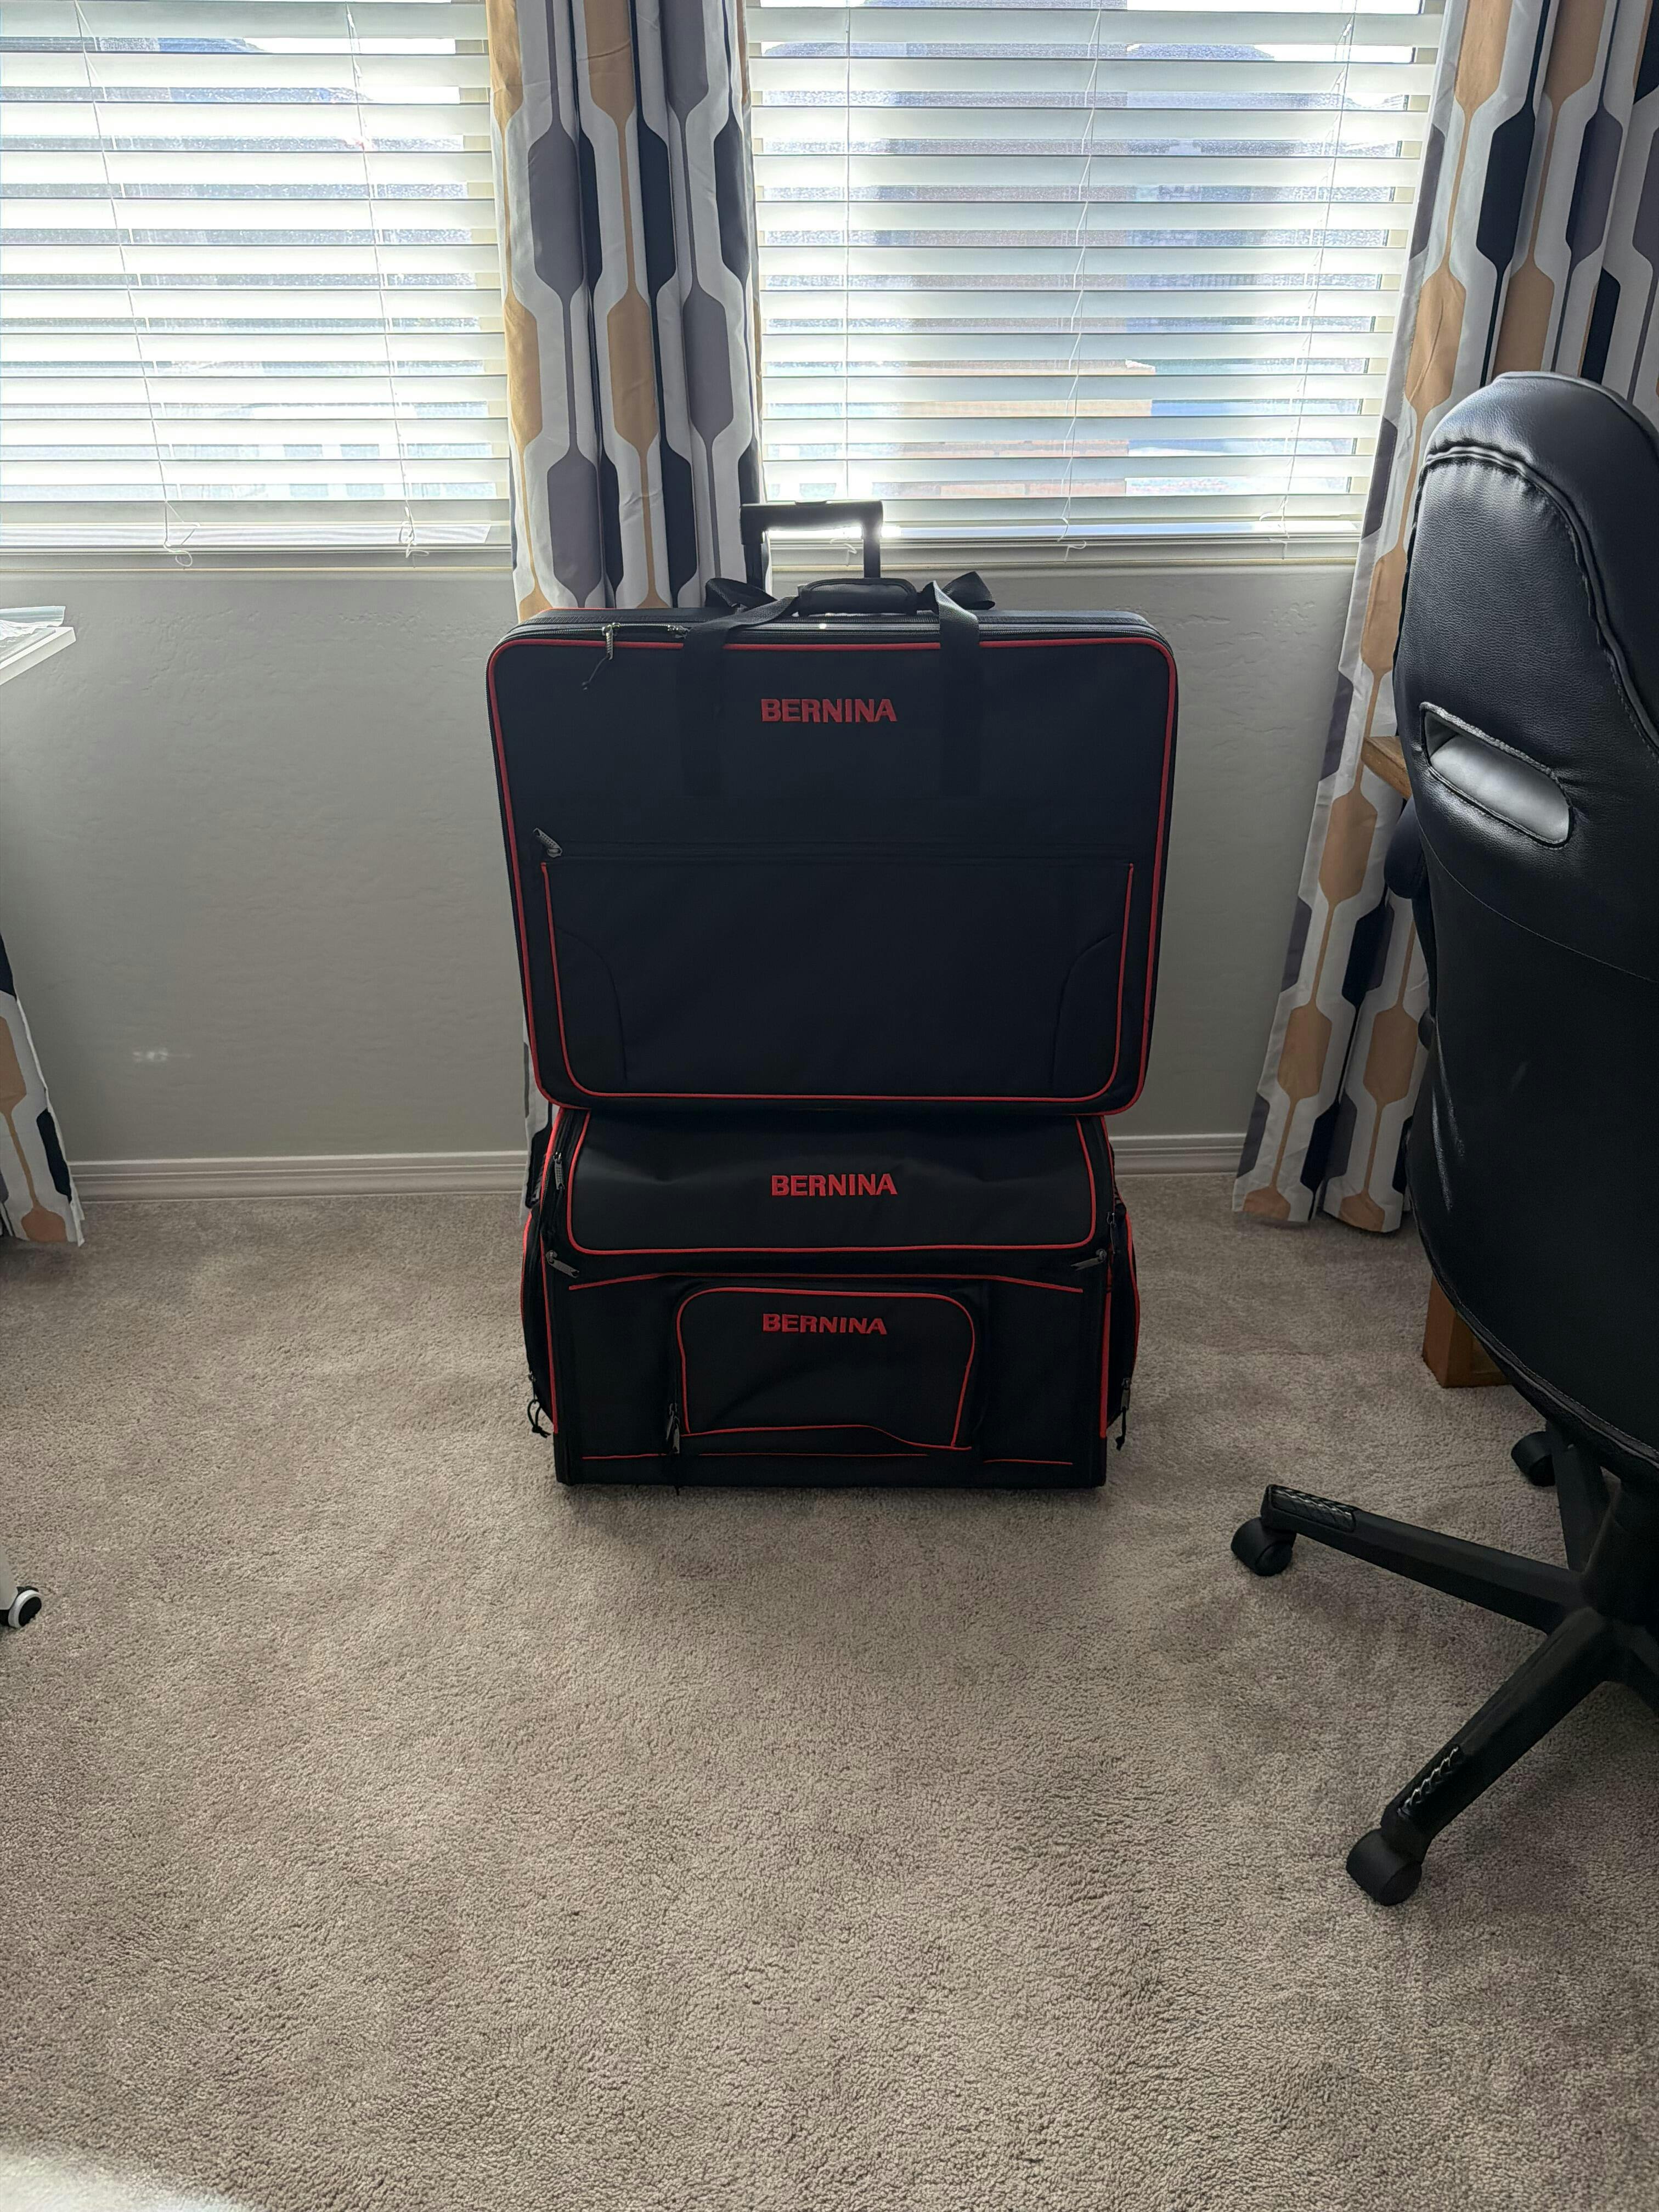
Hoop makes quilting a lot easier! I may get the larger hoop also.
Great place to shop for sewing machine accessories. I plan to purchase additional presser feet.
Always great pricing and fast shipping!
 In stock, ground shipments usually arrive within 3-7 days
Couldn't load pickup availability
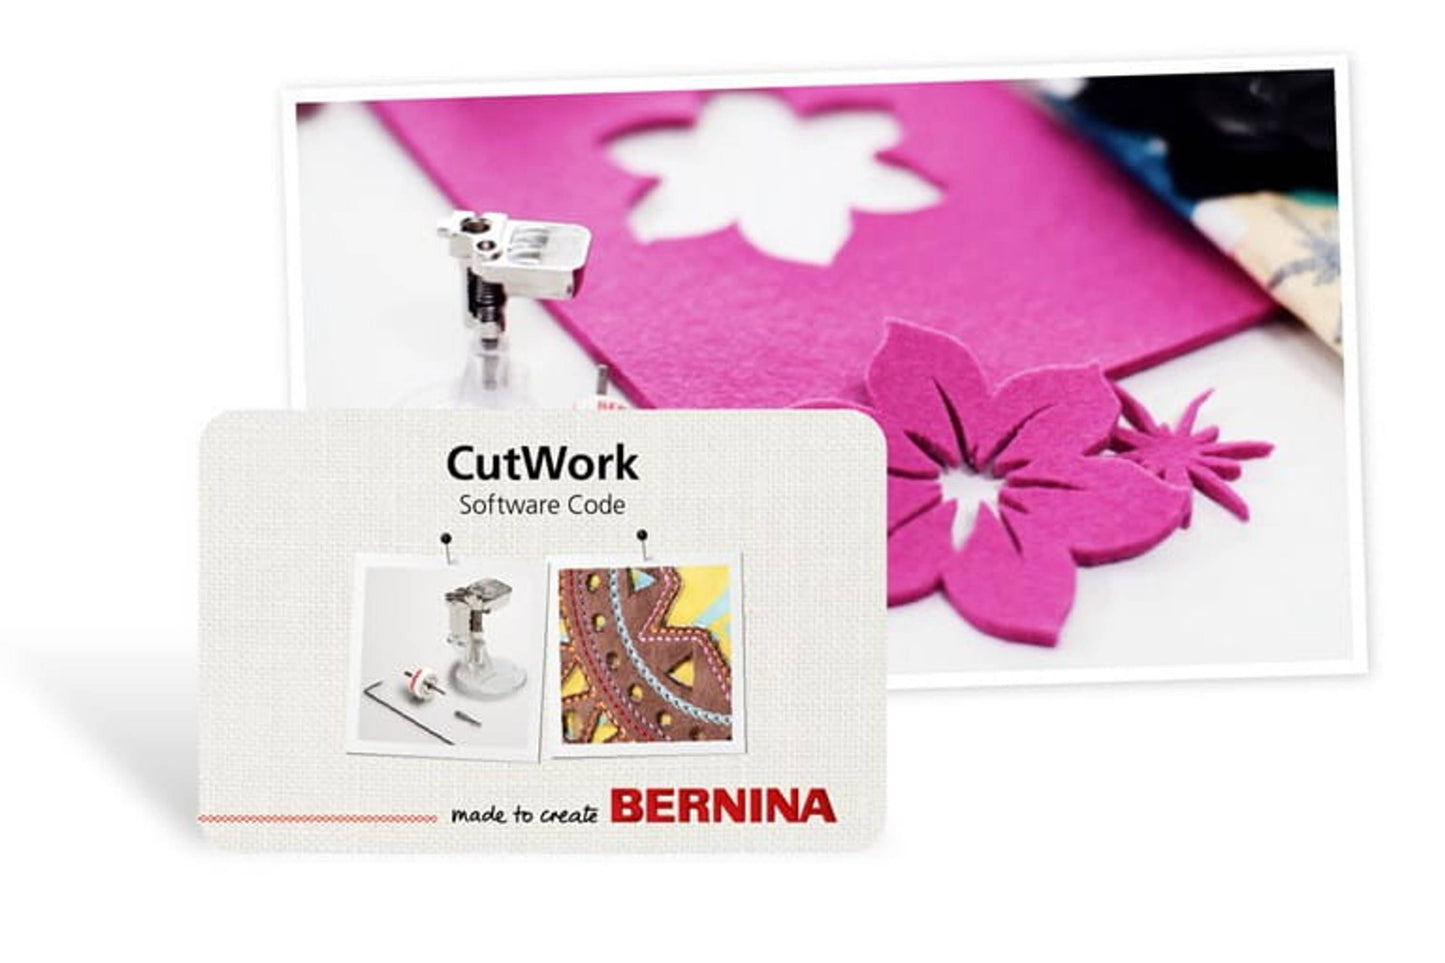
Create and edit cut-out shapes that can be appliquéd or layered for amazing texture.
Load your CutWork motifs via USB straight into your embroidery machine
CutWork might sound advanced, but with the right tools, it’s surprisingly simple. Here’s how to go from digital file to flawless fabric cutouts—step by step:
Start with the BERNINA DesignWorks software. You can create new motifs or edit existing ones. Once you’re done, export your file in a CutWork-ready format—yep, it’s that easy.
Send the file onto a USB stick and plug it into your embroidery machine. Your design is now ready to stitch (or slice)!
Time to build your “fabric sandwich.”
Hoop a stabilizer like HeavyWeight TearAway, then layer up to 15 sheets of fabric, appliqué, or felt—yes, 15! Think of it like building a cake before slicing it clean.
The machine will stitch a light basting outline to lock everything in place. This gives your fabric the structure it needs for precision cutting
Replace the needle with your CutWork tool. Then attach Presser Foot #44 or #44C and the correct stitch plate. The machine will handle the rest, rotating the blade as needed to slice the design just right.
Once it’s done cutting, gently lift the fabric layers and remove your pieces. Use scissors or a seam ripper to tidy up any leftover threads. Satisfaction guaranteed.
Fuse your pieces onto your project, stitch them in place, or use them as freestanding accents for quilts, garments, greeting cards.
Cutwork Tool itself is sold separately.
Click Here for Tutorial